Bookstack
- Installation bookstack
- Backuping and restoring
- Astuces et amélioration
- sys commande pour gérer boostack
- Structure base et dev
- Hacks : notify-page-updates-for-tagged-books
- Écriture d'une nouvelle fonctionnalité : s'abonner aux notification de pages modifiées dans un livre.
Installation bookstack
installation avec docker : suivre le tuto du site
Commentaires
- Difficulté pour l’accéder en réseau, et sans avoir un nom de domaine qui permette la certification
- Difficulté pour gérer les mails (envoi de mail sur événement)
Installer BookStack avec Docker
Table des matières
Merci à DRjekyll49 & Biinocle pour m'avoir averti du changement dans le compose!
BookStack est une plateforme simple, auto-hébergée et facile à utiliser pour organiser et stocker des informations sous forme de wiki.
⚡Caractéristiques
- Gratuit et open source: BookStack est entièrement gratuit et ouvert, sous licence MIT. La source est disponible sur GitHub. Il n'y a aucun frais pour télécharger et installer votre propre instance de bookstack.
- Interface simple et facile: la simplicité a été la priorité absolue lors de la création de BookStack. L'éditeur de page possède une interface WYSIWYG simple et tout le contenu est divisé en trois groupes simples => Livres, Chapitres, Pages.
- Consultable et connecté: le contenu de BookStack est entièrement consultable. Vous pouvez effectuer une recherche au niveau du livre ou dans tous les livres, chapitres et pages. La possibilité de créer un lien direct vers n’importe quel paragraphe vous permet de garder votre documentation connectée.
- Configurable: les options de configuration vous permettent de configurer BookStack en fonction de votre cas d'utilisation. Vous pouvez modifier le nom, le logo et les options d'enregistrement. Vous pouvez également modifier si l'ensemble du système est visible publiquement ou non.
- Exigences simples: BookStack est construit en utilisant PHP, au-dessus du framework Laravel et utilise MySQL pour stocker les données. Les performances ont été gardées à l'esprit et BookStack peut fonctionner sans problème sur un simple VPS.
- L'éditeur de pages de BookStack intègre la capacité de dessin de https://app.diagrams.net, permettant la création rapide et facile de diagrammes dans votre documentation.
- Multilingue: les utilisateurs de BookStack peuvent définir leur langue préférée. Grâce aux excellents contributeurs de la communauté, les langues actuelles intégrées à BookStack incluent EN, FR, DE, ES, IT, JA, NL, PL, RU et bien d'autres.
- Éditeur de démarques facultatif: si vous préférez écrire en Markdown alors BookStack vous soutient. Un éditeur de démarques est fourni et inclut un aperçu en direct pendant que vous rédigez votre documentation.
- Authentification intégrée: en plus de la connexion par e-mail/mot de passe par défaut, des fournisseurs sociaux tels que GitHub, Google, Slack, AzureAD et bien d'autres peuvent être utilisés. Les options Okta, SAML2 et LDAP sont disponibles pour les environnements d'entreprise.
- Fonctionnalités puissantes: en plus de la recherche et des liens puissants, il existe également un tri croisé entre les livres, des révisions de pages et une gestion des images. Un système complet de rôles et d'autorisations vous permet de verrouiller le contenu et les actions selon vos besoins.
- Authentification multifacteur: MFA est intégré et peut être appliqué au niveau de chaque rôle, si vous le souhaitez. Les options MFA incluent TOTP (Google/Microsoft Authenticator, Authy, etc...) et des codes de sauvegarde statiques.
- Modes sombre et clair: BookStack propose son interface utilisateur à la fois dans un thème clair et dans un thème sombre, sauvant ainsi les yeux de ceux qui préfèrent travailler dans l'ombre. Ceci est configurable au niveau de l'utilisateur.
Si vous avez la moindre difficulté, n'oubliez pas que vous pouvez rejoindre belginux sur Discord et Matrix!
L'installation
- Il faut commencer par générer une clé avec la commande suivante:
docker run -it --rm --entrypoint /bin/bash lscr.io/linuxserver/bookstack:latest appkeyCe qui retourne:

Copiez toute la clé, base64: compris, et mettez cette clé de côté.
- Créez votre docker-compose.yml:
sudo nano docker-compose.yml- Collez ça dedans en prenant soin d'adapter le port et les volumes suivant votre configuration:
version: "2"
services:
  bookstack:
    image: lscr.io/linuxserver/bookstack:latest
    container_name: bookstack
    environment:
      - PUID=1000
      - PGID=1000
      - TZ=Etc/UTC
      - APP_KEY=base64:mhoEccThD5nT/94EWcFnWQV6E8XNeNVca75J7neYz6s=
      - APP_URL=http://192.168.1.152:6875
      - DB_HOST=bookstack_db
      - DB_PORT=3306
      - DB_USERNAME=bookstack
      - DB_PASSWORD=VotreMotDePasse
      - DB_DATABASE=bookstackapp
      - APP_DEFAULT_DARK_MODE=true
      #- MAIL_DRIVER=smtp
      #- MAIL_HOST=smtp.gmail.com
      #- MAIL_PORT=465
      #- MAIL_ENCRYPTION=tls
      #- MAIL_USERNAME=yourEMAIL
      #- MAIL_PASSWORD=yourPassword
      #- MAIL_FROM=yourEMAIL
      #- MAIL_FROM_NAME=yourNAME
    volumes:
      - ./config:/config
    ports:
      - 6875:80
    restart: unless-stopped
  bookstack_db:
    image: lscr.io/linuxserver/mariadb:latest
    container_name: maria_db
    ports:
      - 3308:3306 # 3308 is a DB port visible on HOST
    environment:
      - PUID=1000
      - PGID=1000
      - MYSQL_ROOT_PASSWORD=VotreMotDePasseBis
      - MYSQL_DATABASE=bookstackapp
      - MYSQL_USER=bookstack
      - MYSQL_PASSWORD=VotreMotDePasse
    volumes:
      - ./db/config:/config
    restart: unless-stopped
Veillez à compléter les éléments suivants:
-
- APP_KEY= => Indiquez la clé complète générée au début du tutoriel.
-
- APP_URL=http://192.168.1.152:6875 => soit vous indiquez votre IP locale + port ou votre nom de domaine, https.ndd.tld.
-
- DB_PASS=VotreMotDePasse => choisissez un mot de passe fort.
-
- MYSQL_ROOT_PASSWORD=VotreMotDePasseBis => choisissez un mot de passe fort différent de VotreMotDePasse.
-
- TZ=Europe/Brussels => adaptez suivant votre localisation.
-
- MYSQL_PASSWORD=VotreMotDePasse => choisissez un mot de passe fort.
-
#- APP_DEFAULT_DARK_MODE=true => décommentez, donc retirez le signe # si vous voulez que le mode sombre soit activé par défaut.
Configurer le serveur mail
Si vous voulez activer le serveur mail (dans cet exemple, Gmail, adaptez selon le fournisseur), il faut décommenter, donc retirez le signe # de toutes les lignes concernant le serveur mail et compléter comme ceci:
-
MAIL_DRIVER=smtp
-
MAIL_HOST=smtp.gmail.com
-
MAIL_PORT=465
-
MAIL_ENCRYPTION=tls
-
MAIL_USERNAME=yourEMAIL => remplacer yourEMAIL par votre Gmail.
-
MAIL_PASSWORD=yourPassword => remplacer yourPassword par le mot de passe créé, lire l'encadré ci-dessous.
-
MAIL_FROM=yourEMAIL => remplacer yourEMAIL par votre Gmail.
-
MAIL_FROM_NAME=yourNAME => remplacer yourNAME par votre nom.
Je l'explique ici, à partir de Activez la double authentification sur votre compte Gmail jusqu'à Copiez et conservez bien votre mot de passe, validez ensuite avec OK.
Quand vous avez le mot de passe dédié, mettez-le dans le formulaire.
- On va déployer l'application:
docker-compose up -d
ou avec docker-compose V2:
docker compose up -d- Rendez-vous sur l'ip:port, suivant l'IP de votre serveur local et du port choisi, 6875 par défaut:
http://ip:6875/Ou votre domaine:
https://bookstack.mondomaine.comCompte admin
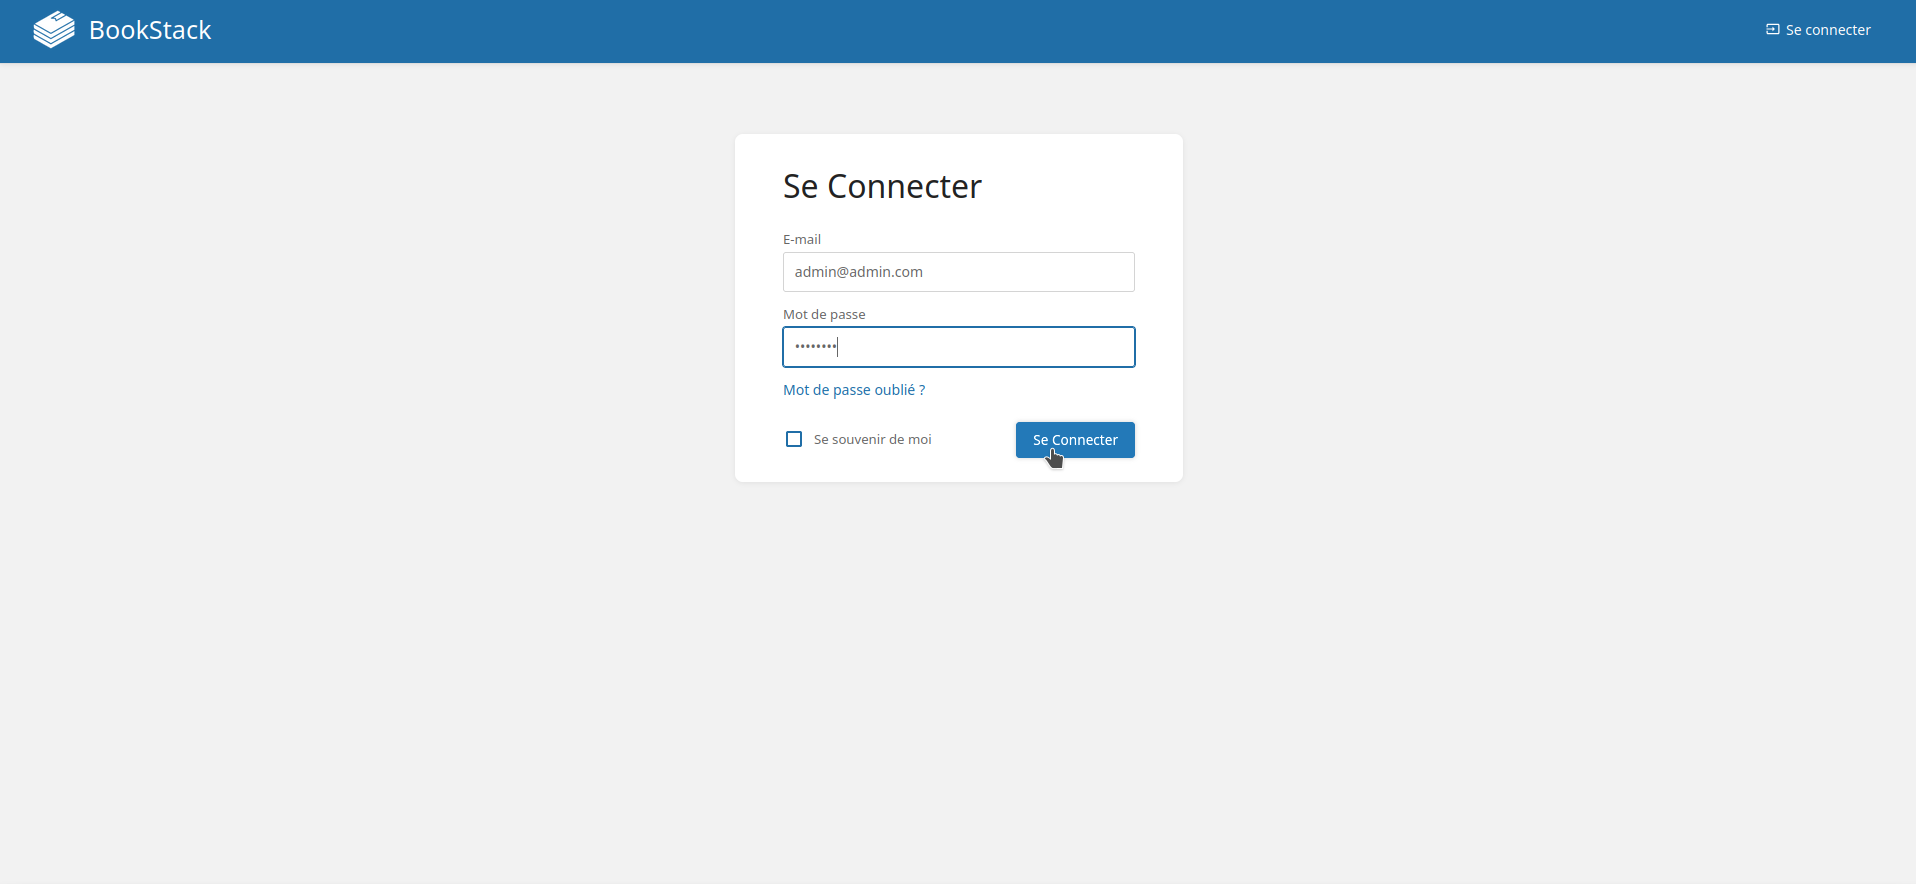
Lors du premier lancement il faudra indiquer le compte administrateur par défaut:
- E-mail => admin@admin.com
- Mot de passe => password
Validez en cliquant sur Se Connecter:
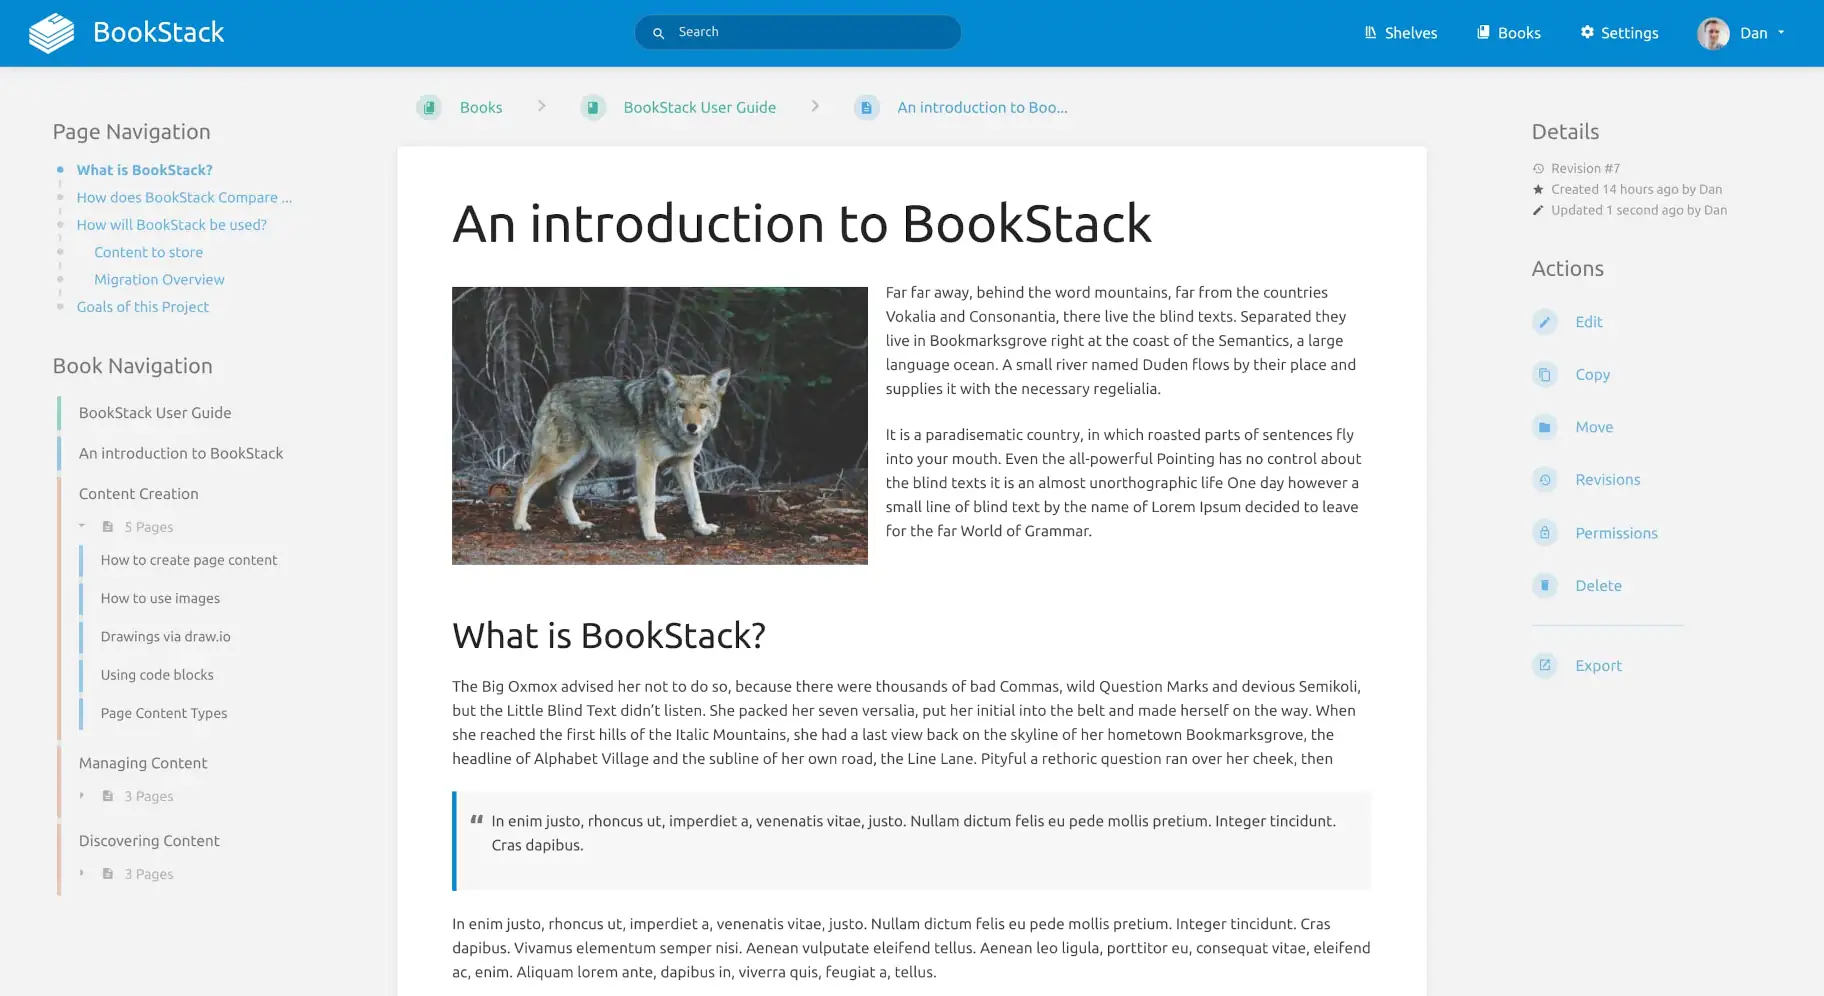
Bienvenue sur la page principale de BookStack:
Changer la langue
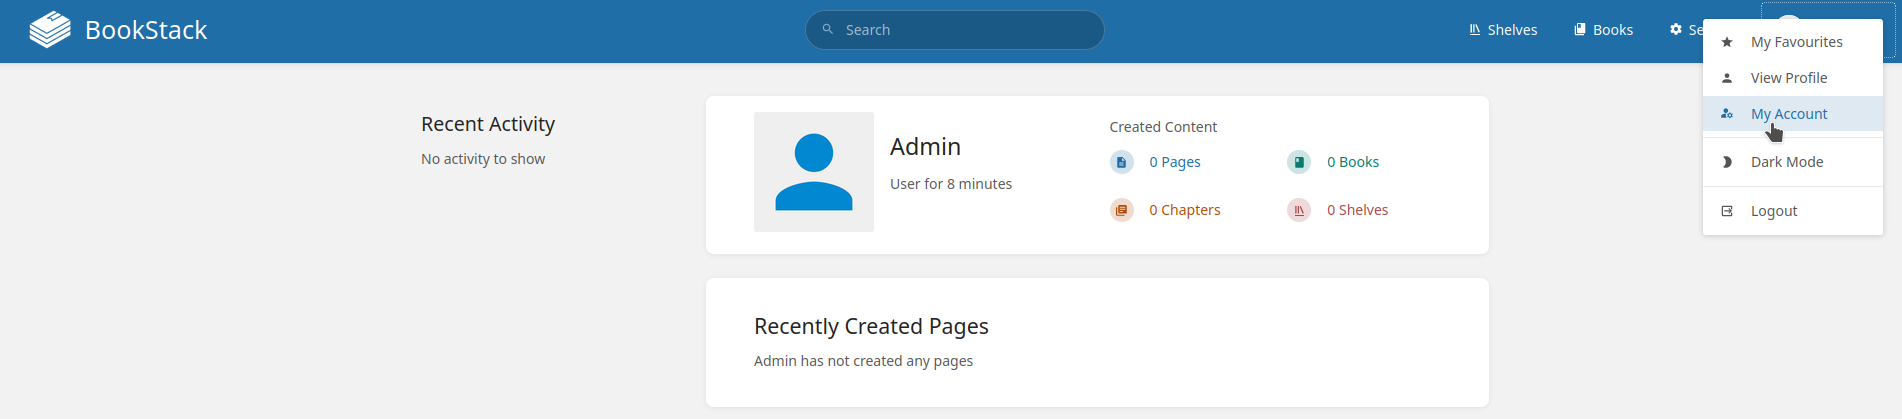
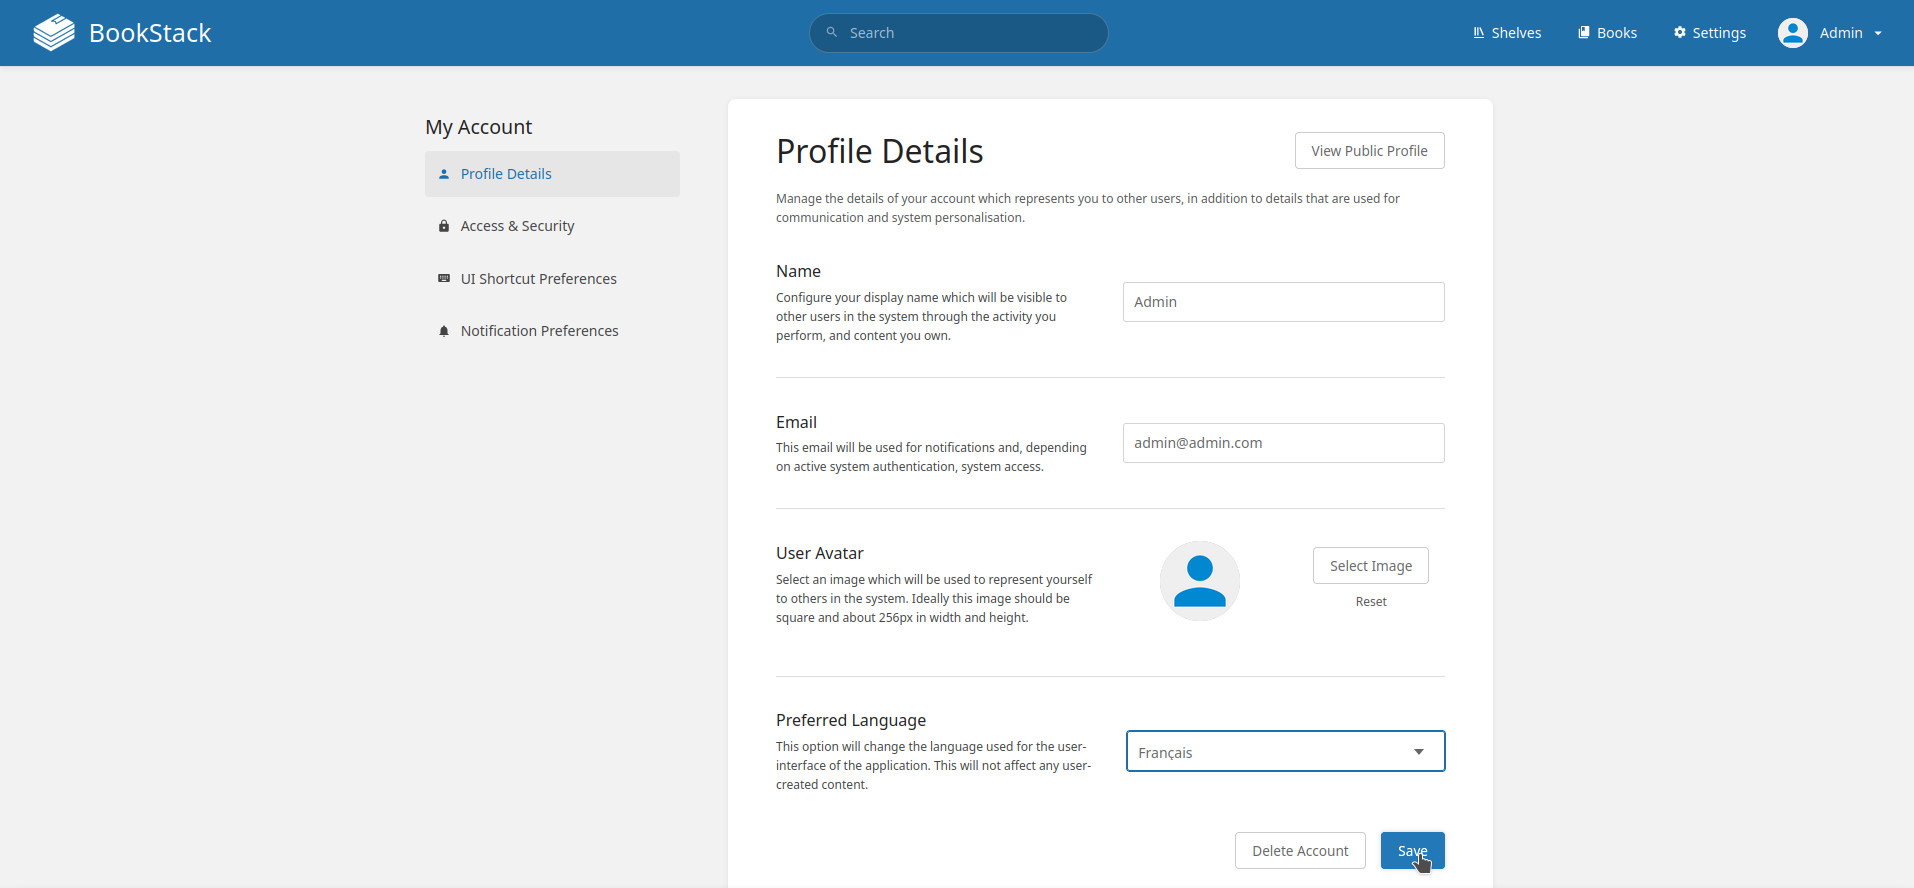
Allez en haut à droite, cliquez sur Admin, ensuite sur My Account:
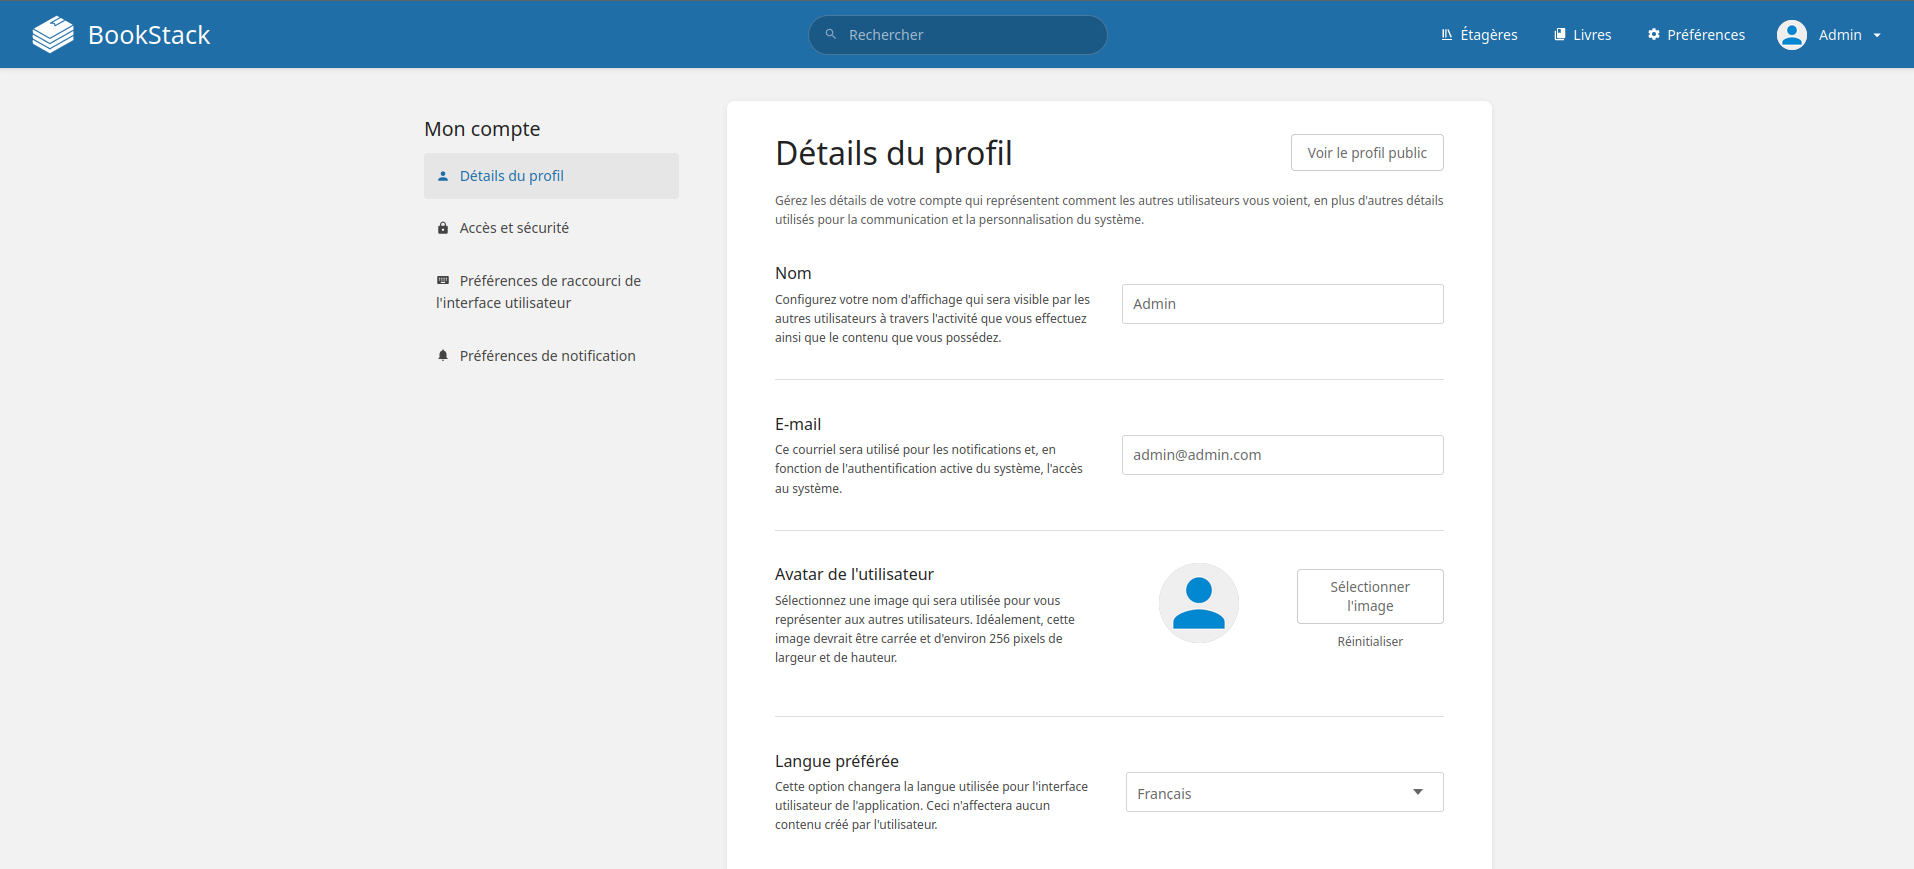
Dans Preferred Language, sélectionnez la langue de votre choix, ici le français, validez avec Save:
BookStack est désormais en français:
Changer le Nom et l'E-mail du profil
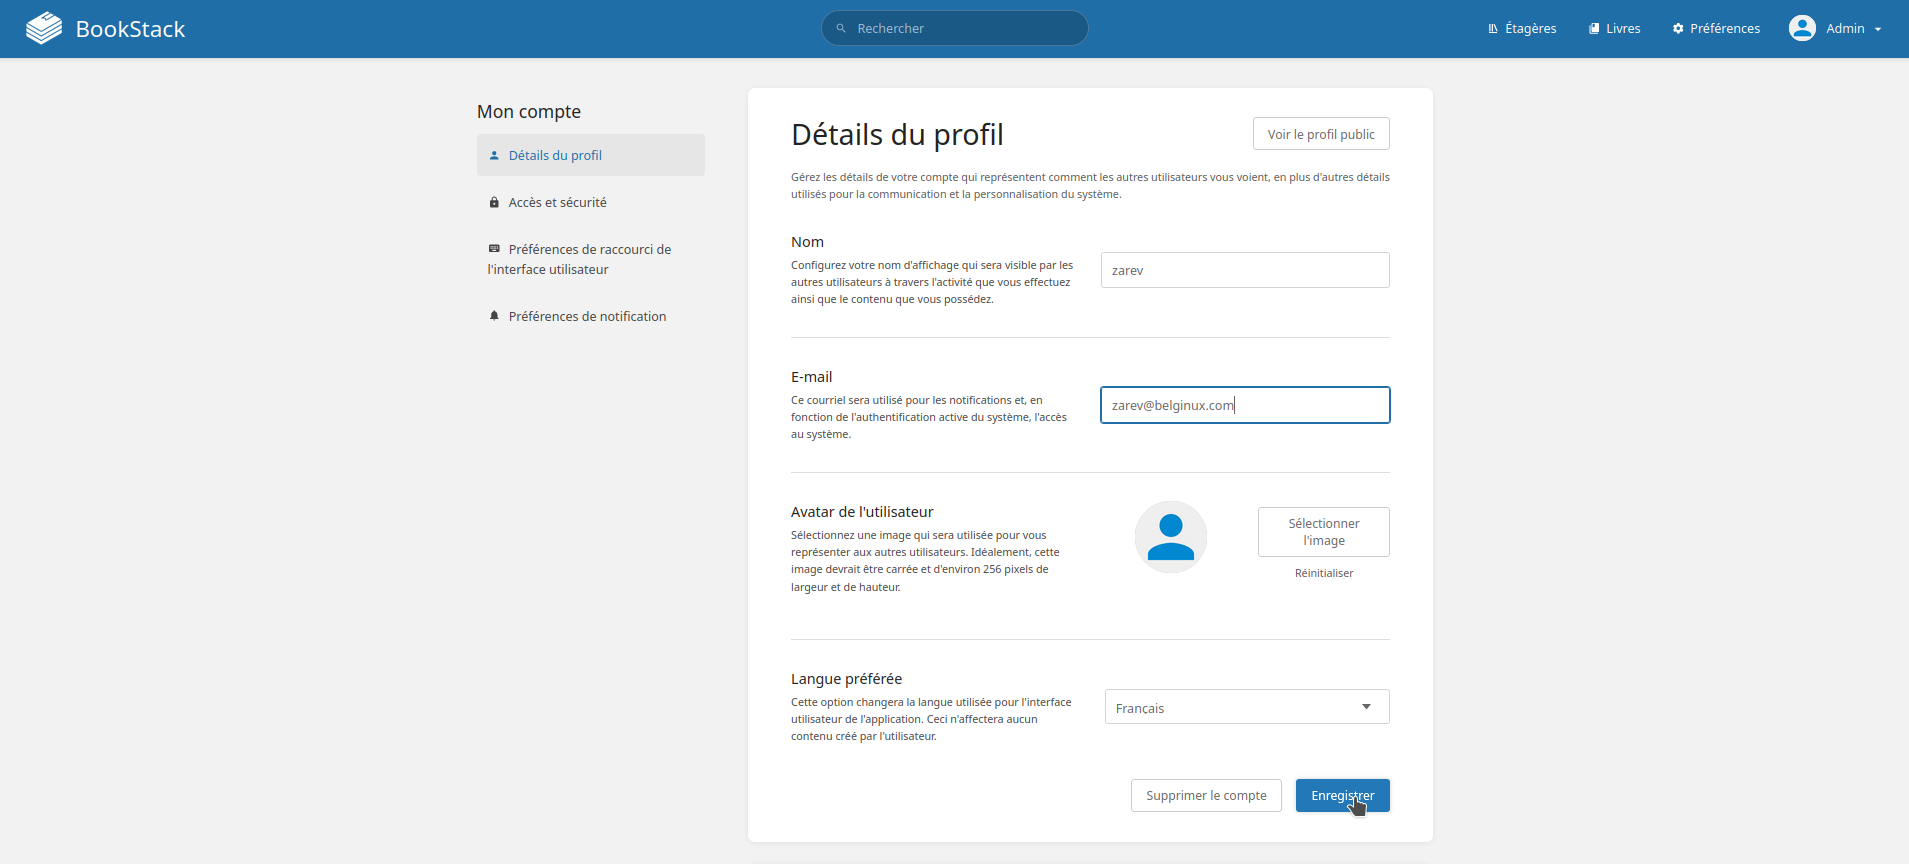
Allez en haut à droite, cliquez sur Admin, ensuite sur Mon compte:

Changez Nom et E-mail avec les informations souhaitées, validez avec Enregistrer:
Changer le mot de passe
Allez en haut à droite, cliquez sur Admin, ensuite sur Mon compte:

Activer le mode sombre
Tout simplement sur la page principale:

Backuping and restoring
https://www.bookstackapp.com/docs/admin/backup-restore/
Backup and Restore
While BookStack does not currently have a built-in way to backup and restore content, it can usually be done via the command line with relative ease. The below commands are based on using Ubuntu. If you are using a different operating system you may have to alter these commands to suit.
Backup
There are two types of content you need to backup: Files and database records.
Database
The easiest way to backup the database is via mysqldump:
If you are using MySQL on Ubuntu, and are using the root MySQL user, you will likely have to run the command above with sudo:
|
|
The resulting file (bookstack.backup.sql in the examples above) will contain all the data from the database you specified. Copy this file to somewhere safe, ideally on a different device.
Files
Below is a list of files and folders containing data you should back up. The paths are shown relative to the root BookStack folder.
.env- File, contains important configuration information.public/uploads- Folder, contains any uploaded images.storage/uploads- Folder, contains uploaded page attachments.themes- Folder, contains any configured visual/logical themes.
Alternatively you could backup up your whole BookStack folder but only the above contain important instance-specific data by default.
The following command will create a compressed archive of the above folders and files:
|
|
The resulting file (bookstack-files-backup.tar.gz) will contain all your file data. Copy this to a safe place, ideally on a different device.
Restore
If you are restoring from scratch follow the installation instructions first to get a new BookStack instance set-up but do not run the php artisan migrate installation step when installing BookStack. You may need to comment this command out if using an installer script.
If you are using a docker-container-based set-up, restore the database before running the BookStack container. An example of the process using a linuxserver.io-based docker-compose setup can be seen in our video here.
Database
To restore the database you simply need to execute the sql in the output file from the mysqldump you performed above. To do this copy your database SQL backup file onto the BookStack or database host machine and run the following:
|
|
If you are restoring to a new version of BookStack you will have to run php artisan migrate after restore to perform any required updates to the database.
Files
To restore the files you simply need to copy them from the backup archive back to their original locations. If you created a compressed bookstack-files-backup.tar.gz archive as per the backup instructions above you can simply copy that file to your BookStack folder then run the following command:
|
|
If you get errors during the above command it may be due to permissions. Change permissions so you can write to the restore locations.
After a backup of the files you should reset the permissions to ensure any write-required locations are writable by the server. The locations required for this can be found in the installation instructions.
Configuration (.env File)
During a restore, you may end up merging various configuration options between your old and new instance .env files, to get things working for the new environment. For example, it’s common to use the old .env settings for most things but use database settings from the .env file of a newly created instance.
One thing to be aware of is that you should use the APP_KEY value of the old .env file since this is used for various features like the encryption of multi-factor authentication credentials. Changing the APP_KEY may cause such features to break.
URL Changes
If you are restoring into an environment where BookStack will run on a different URL, there are a couple of things you’ll need to do after restoring everything:
- Within the
.envconfig file update theAPP_URLvalue to exactly match your new base URL. - Run the “Update System URL” command to update your database content to use your new URL.
If you migrated web-server configuration files, you may also need to tweak those to correctly use the new URL.
Astuces et amélioration
stats page vue :
https://github.com/BookStackApp/BookStack/issues/4775#issuecomment-2474510624
une solution extérieur :
https://www.bookstackapp.com/blog/replacing-ga-and-mailchim7p/
sys commande pour gérer boostack
| usage | commande |
| Entrer dans la base de données du conatainer | sdockexecroot seg_mariadb mariadb --user=<mariadb-username> --password=<mariadb-usr-pwd> |
Structure base et dev
Tables :
MariaDB [bookstack]> show tables;
+------------------------+
| Tables_in_bookstack |
+------------------------+
| activities |
| api_tokens |
| attachments |
| books |
| bookshelves |
| bookshelves_books |
| cache |
| chapters |
| comments |
| deletions |
| email_confirmations |
| entity_permissions |
| failed_jobs |
| favourites |
| images |
| imports |
| jobs |
| joint_permissions |
| mfa_values |
| migrations |
| page_revisions |
| pages |
| password_resets |
| permission_role |
| references |
| role_permissions |
| role_user |
| roles |
| search_terms |
| sessions |
| settings |
| social_accounts |
| sort_rules |
| tags |
| user_invites |
| users |
| views |
| watches |
| webhook_tracked_events |
| webhooks |
+------------------------+
Hacks : notify-page-updates-for-tagged-books
essai 27 bookstack-module.json
dans
nicolas@msi-01:/srv/bookstack$ nano docker-compose .yml
image: linuxserver/bookstack:26.03.20260315
Puis :
dans le .env !
nicolas@msi-01:/srv/bookstack$ sdock compose down && sdock compose up -d
nicolas@msi-01:/srv/bookstack$ sdockexec <container_name> bash
root@597eaf963fbf:/# apk update && apk add --no-cache php85-cli php85-mbstring php85-xml php85-zip
root@597eaf963fbf:/# wget https://www.bookstackapp.com/hack-modules/notify-tagged-page-updates.zip
root@597eaf963fbf:/# mv notify-tagged-page-updates.zip /app/www/
root@597eaf963fbf:/# cd /app/www/ && php artisan bookstack:install-module notify-tagged-page-updates.zip
root@597eaf963fbf:/# apk add nano
root@597eaf963fbf:/# nano /app/www/themes/custom/modules/notify-page-updates-for-tagged-books/functions.php
Modif dans la fonction ;
24 public function toMail(User $notifiable): MailMessage
25 {
26 /** @var Page $page */
27 $page = $this->detail;
28 $updater = $this->user;
29
30 return (new MailMessage())
31 // ->subject('BookStack page update notification')
32 // ->line("La page \"{$page->name}\" has been updated by \"{$updater->name}\"")
33 ->subject('BookStack : notification de mise à jour de page')
34 ->line("The page \"{$page->name}\" a été mise à jour par \"{$updater->name}\"")
35 ->action('View Page', $page->getUrl());
36 }
root@597eaf963fbf:/# exit
puis :
nicolas@msi-01:/srv/bookstack$ sdock retart <nom_container>
ATTENTION :
NOM DU TAG : notify en minuscule
Rôles à pousser : casse identique au nom du rôle, plusieurs rôles séparés par une virgule.
Etat courant :
Thème BookStack custom
Modules installés
notify-page-updates-for-tagged-books
- Source : https://www.bookstackapp.com/hacks/notify-tagged-page-updates/
- Installé le : 2026-03-17
- Testé sur : v26.03
Fonctionnement : Envoie un mail aux utilisateurs des rôles listés dans un tag notify (séparateur virgule) appliqué au livre (pas au chapitre ni à la page).
Exemple de tag sur le livre :
- Nom :
notify - Valeur :
mn-et-nf,Admin
Modifications apportées au functions.php original :
- Textes des mails traduits en français
- Logs de debug ajoutés (niveau debug, silencieux en prod)
nouvelle fonction avec 1 mail tous les xxx
Ce qui a changé par rapport à ton fichier actuel :
- Constante
NOTIFY_COOLDOWN_HOURS = 4en haut du fichier — un seul endroit à modifier pour changer la fréquence - Le cooldown est vérifié avant toute requête SQL — si actif, on sort immédiatement sans toucher la base
- Le cooldown est armé après l'envoi réussi des mails — si une erreur survient avant, le prochain enregistrement retente
- Tous les
\Log::inforemplacés par\Log::debug— silencieux en prod, visibles siLOG_LEVEL=debug - Message du mail entièrement en français
Écriture d'une nouvelle fonctionnalité : s'abonner aux notification de pages modifiées dans un livre.
Plan d'action — Digest de suivi de livres BookStack
Contexte
Remplacer le hack notify-tagged-page-updates (notification par rôle, immédiate) par un système de suivi individuel par utilisateur avec digest périodique.
Ce qu'on sait déjà
- ❌ Pas d'événement
CRON/DAILYdansThemeEvents.php→ le déclencheur du digest sera un cron sur l'hôte (msi-01) - ✅ Le stockage sera un fichier JSON externe monté en volume, jamais touché par les mises à jour de l'image
- ✅ L'abonnement se fait via un tag
follow:nicolas,marinoposé manuellement sur le livre — choix individuel, pas de groupe
Pas totalement d'accord avec le cron externe : cela fragilise le système. au moins une cron intégré au conteneur serait plus sécurisé. mais utiliser la fonction schedule de laravel serait le plus robuste.
Les 3 chantiers
Chantier 1 — Le fichier JSON
- Définir son emplacement dans le volume (
/srv/bookstack/bookstack_data/hack-digest.json) - Définir sa structure définitive
- Le créer vide au départ
Chantier 2 — Réécriture du functions.php
- Écouter
PAGE_UPDATE→ lire le tagfollow:sur le livre → accumuler dans le JSON - Remplacer toute la logique d'envoi immédiat par l'accumulation
Chantier 3 — Le digest
- Écrire le script d'envoi (commande artisan custom ou script PHP standalone)
- Formater l'email récapitulatif (liste des pages modifiées par livre)
- Brancher le cron sur l'hôte à l'heure souhaitée
Questions à trancher en début de prochaine session
- Fréquence du digest — quotidien à heure fixe ? Paramétrable par utilisateur ?
- Emplacement du JSON — à confirmer selon la structure de tes volumes
- Format de l'email — simple liste texte ou HTML avec liens cliquables ?
Bonne soirée ! 🚀